

How To Deploy A Django App To Heroku
Deploy your Django app to Heroku in 1️⃣0️⃣ steps...


Table of contents
- HEROKU?
- PREREQUISITE:
- STEPS TO DEPLOY A DJANGO APP TO HEROKU
- STEP 1 - Installing Dependencies
- STEP 2 - Creating a requirement.txt File
- STEP 3 - Creating a runtime.txt File
- STEP 4 - Importing Heroku Into your Project
- STEP 5 - Creating a Procfile
- STEP 6 - Creating a .gitignore File And Committing Project Using Git
- STEP 7 - Pushing your Django App to Heroku
- STEP 8 - Creating a Superuser on Heroku
- STEP 9 - Customizing the URL of your Django App
- STEP 10 - Securing Your Live Project
- WHAT ELSE SHOULD I KNOW?
HEROKU?
Yes! Heroku. It is a web-based platform that allows you to deploy and manage web applications so that they can be accessible by anyone within their browser. Heroku supports many programming languages including Python/Django!
It has a free plan for small projects and a paid plan that come with more features for sophisticated projects.
PREREQUISITE:
To get your Django app running live on Heroku, there are basic requirements to have(on your PC):
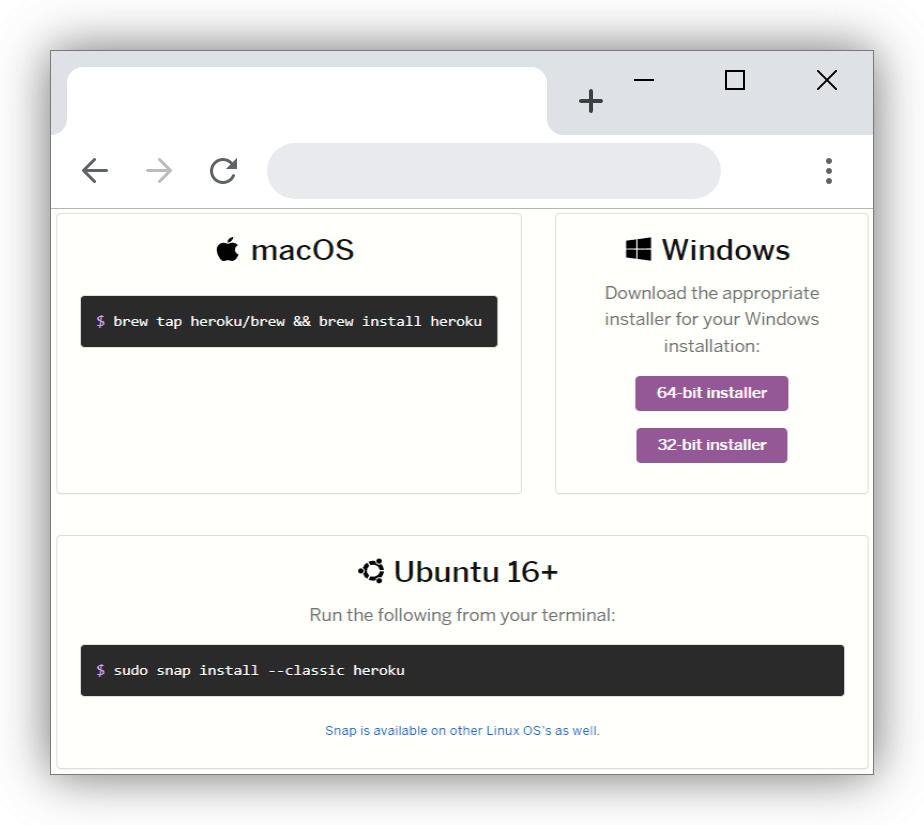
Heroku account. Sign up here if you don't already have one
Heroku CLI. You can download it here
Git
Knowledge of Git
A simple running Django project
STEPS TO DEPLOY A DJANGO APP TO HEROKU
At this point, I believe you already have a Django project you want to deploy.
In your terminal, make sure to navigate to your project's root folder and activate the virtual environment before typing all of the commands in the steps below.
STEP 1 - Installing Dependencies
Here, you are going to install packages that will help control your Django app on Heroku. To do this, type the following commands one after the other, in your terminal:
pip install gunicornpip install psycopg2pip install django-heroku
Success output:
(myenv) C:\Users\grace_omowunmi\Desktop\django-deploy-test>pip install gunicorn
Collecting gunicorn
Using cached gunicorn-20.1.0-py3-none-any.whl (79 kB)
Requirement already satisfied: setuptools>=3.0 in c:\users\grace_omowunmi\desktop\django-deploy-test\myenv\lib\site-packages (from gunicorn) (49.2.1)
Installing collected packages: gunicorn
Successfully installed gunicorn-20.1.0

#do the same for the other 2 packages
STEP 2 - Creating a requirement.txt File
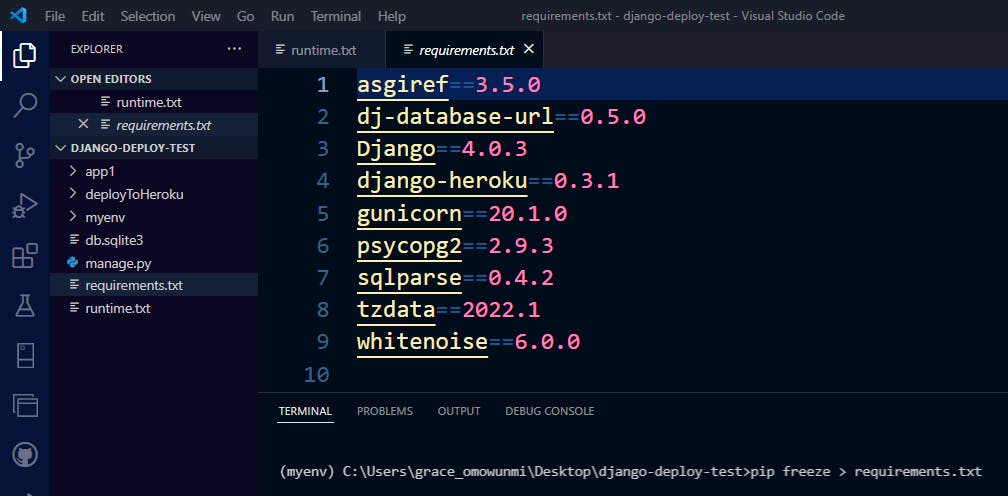
The requirement.txt file you are going to create will contain all the packages your project depends on including the 3 you have just installed in Step 1.
To create this file, type the following command in your terminal: pip freeze > requirements.txt
**Success output: **
STEP 3 - Creating a runtime.txt File
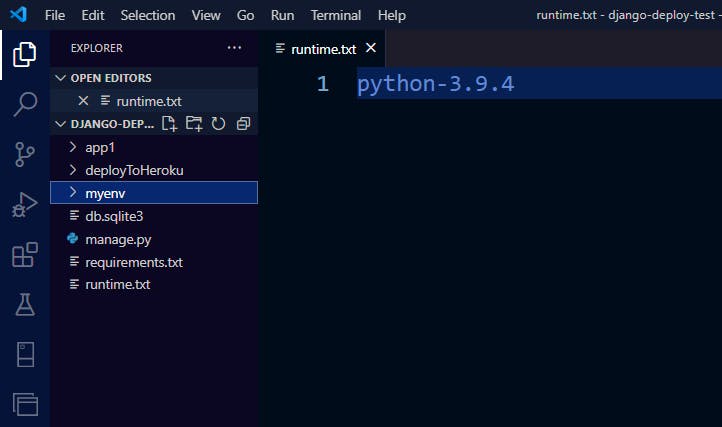
Specifying the version of python you are using for your project will not allow Heroku to use its default version of python. Also, it will help other developers know the version of python your project was built on. To do this;
First, type
python --versionto view the version of python you are currently working with.Then, create a runtime.txt file in your project's root folder and type in the version of your python in this format:
STEP 4 - Importing Heroku Into your Project
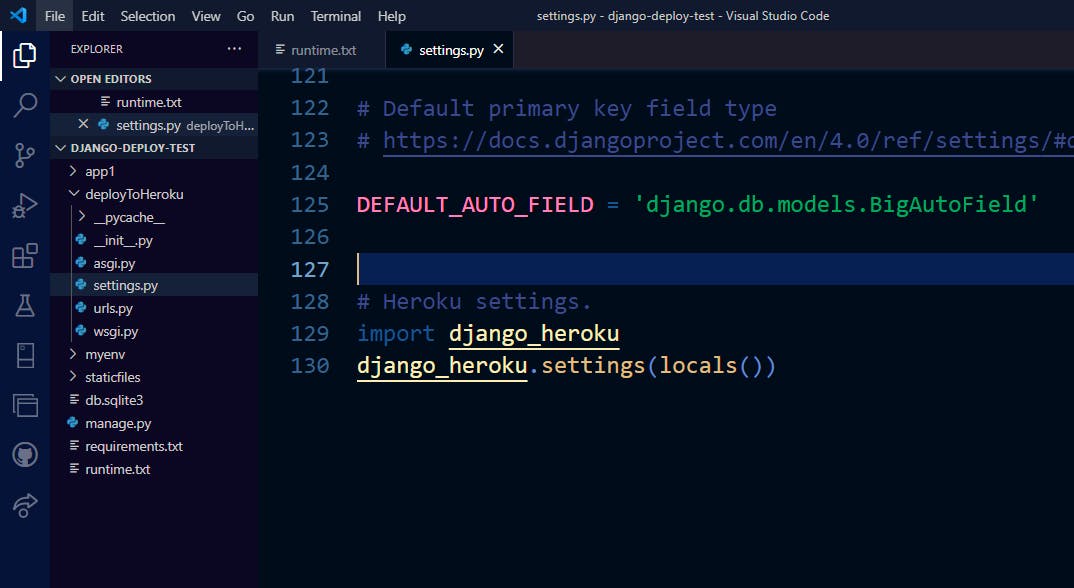
Here, you need to modify the settings of your project to align with the Heroku environment. Type this at the end of your settings.py file in your project folder.
import django_heroku
django_heroku.settings(locals())
**Success output: **
STEP 5 - Creating a Procfile
Create a Procfile in your project's root folder and type in the following code in it web: gunicorn <project_name>.wsgi --log-file - The Procfile tells Heroku the processes to start with to properly serve your live project.
** Success output:**
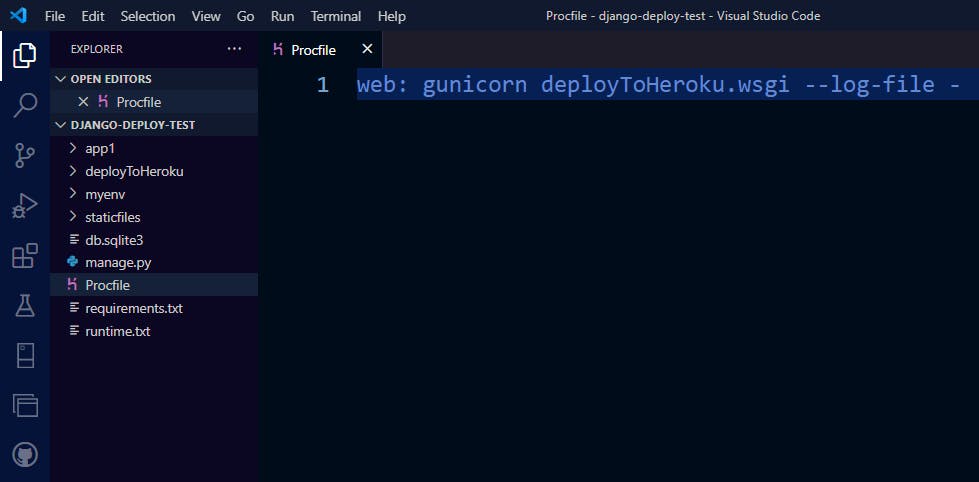
Make sure to type Procfile correctly with a capital P
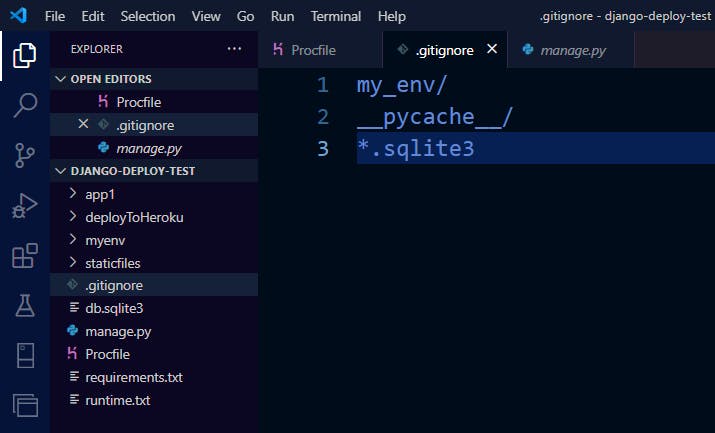
STEP 6 - Creating a .gitignore File And Committing Project Using Git
Here, you are going to create a .gitignore file in your project's root folder. This file will include the files you don't need git to track. Here is the code that should go into the .gitignore file
<nameOfYourVirtualEnv/>
__pycache__/
*<.localDatabase>
Note: You should enable hidden folders on your PC if you have not. This will help make the .gitignore file you have just created visible. Because by default, most operating systems automatically hide a file whose name begins with a dot. Example: .git
**Demo: **
Add .DS_Store to your .gitignore file if you are using macOS.
Committing Project
I assume you already have git installed and configured on your PC. The next thing to do is to initialize your project, add all files and commit changes. Here is how to achieve that(I know you know🙄):
git initgit add .git commit -m "initial commit"
STEP 7 - Pushing your Django App to Heroku
You are now at the stage where you need to push to Heroku, type the following command in your terminal:
heroku login
heroku login will redirect you to your browser where you will be prompted to input your heroku login details of the account you must have created earlier. After you have done this, return to your terminal and type the following command line by line:
heroku create
git push heroku master
heroku open
Success output:
(myenv) C:\Users\grace_omowunmi\Desktop\django-deploy-test>heroku login
heroku: Press any key to open up the browser to log in or q to exit:
Opening browser to https://cli-auth.heroku.com/auth/cli/browser/ea2a0edd-81fe-41c2-893c-a9fa1fbfb977?requestor=SFMyNTY.g2gDbQAAAA4xOTcuMjEwLjcxLjE3N24GADDsHASAAWIAAVGA.yNDa-ZhJQOO0uO7g7qIcyMppAVoPXlvcWoqlSY_2RQs
Logging in... done
Logged in as graceos@gmail.com
(myenv) C:\Users\grace_omowunmi\Desktop\django-deploy-test>heroku create
Creating app... done, ⬢ stormy-hamlet-57271
https://stormy-hamlet-57271.herokuapp.com/ | https://git.heroku.com/stormy-hamlet-57271.git
(myenv) C:\Users\grace_omowunmi\Desktop\django-deploy-test>git push heroku master
-----------------------------------------------------------------------------------------------------------
----------------------------------------------------------------------------------------------------------------------------------------------------------------------------------------------------------------------
remote: -----> Launching...
remote: Released v5
remote: https://stormy-hamlet-57271.herokuapp.com/ deployed to Heroku
remote:
remote: Verifying deploy... done.
To https://git.heroku.com/stormy-hamlet-57271.git
* [new branch] master -> master
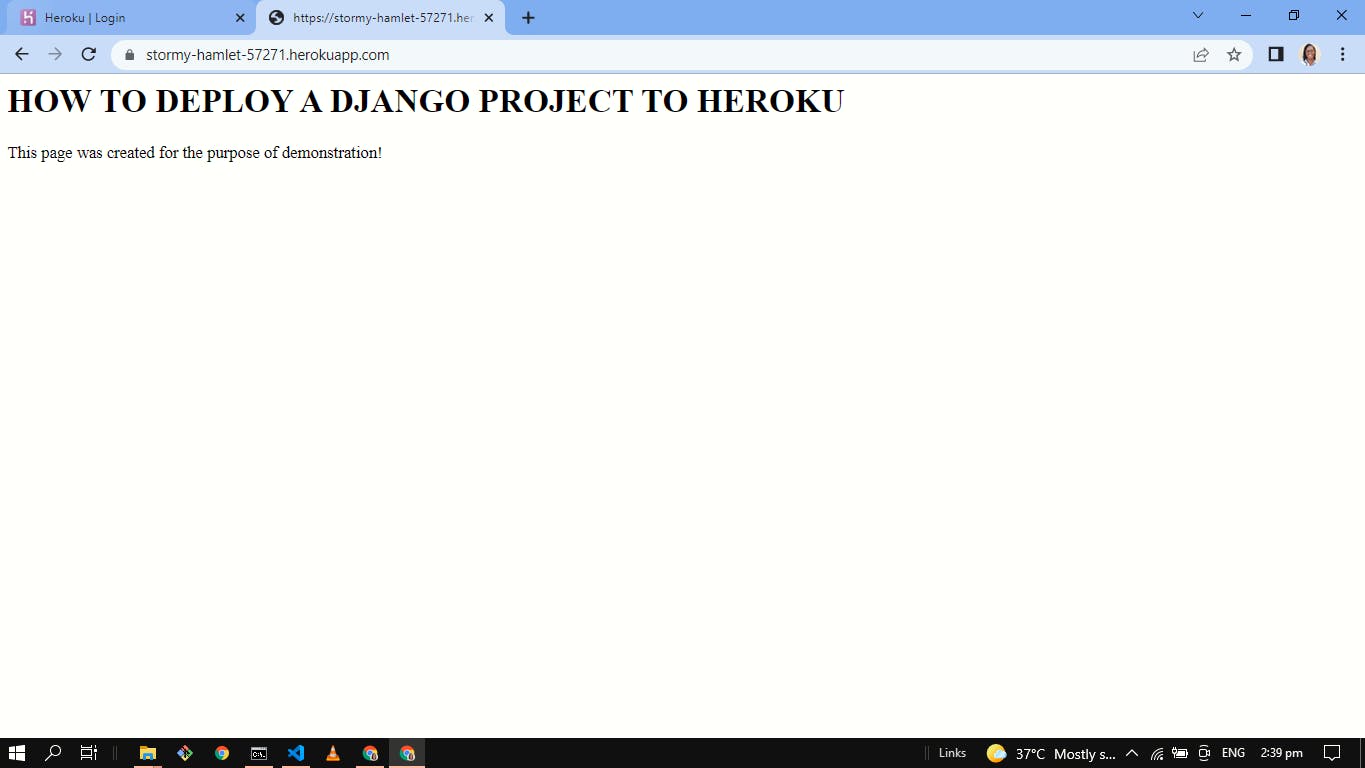
(myenv) C:\Users\grace_omowunmi\Desktop\django-deploy-test>heroku open #this line will automatically open your browser and display your project live with a default URL
heroku createwill create a URL to access your live project.git push herokumaster will push your project to Heroku.heroku openwill automatically open your browser and display your project live with a default URL.
This is mine:
Setting Up Database on Heroku
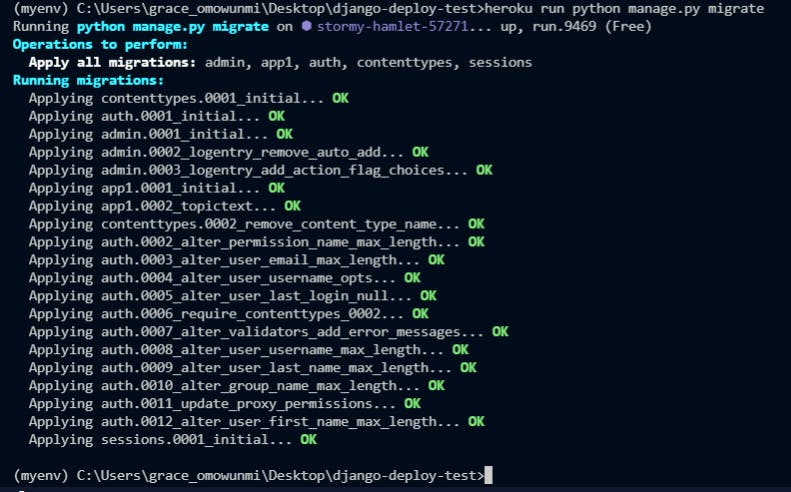
Type the following command in your terminal to enable Heroku to create a database for your live Django project. Remember you added your local database as part of the files git should ignore.
heroku run python manage.py migrate
Success output:
STEP 8 - Creating a Superuser on Heroku
Just like you create a superuser on Django to access the Django admin site on your local server, creating a superuser on Heroku will also enable you to have access to the Django admin site on the live server. To do this, type the following one after the other into your bash terminal:
heroku run bashpython manage.py createsuperuser
Success output1:
(myenv) C:\Users\grace_omowunmi\Desktop\django-deploy-test>heroku run bash
Running bash on ⬢ stormy-hamlet-57271... up, run.3715 (Free)
~ $ dir
app1  deployToHeroku  manage.py  myenv  Procfile  requirements.txt  runtime.txt  staticfiles
~ $ python manage.py createsuperuser
Username (leave blank to use 'u11282'): graceos
Email address: graceos@gmail.com
Password:
Password (again):
The password is too similar to the username.
Bypass password validation and create user anyway? [y/N]: y
Superuser created successfully.

~$ exit  //this command helps you to leave the bash terminal
exit
(myenv) C:\Users\grace_omowunmi\Desktop\django-deploy-test>
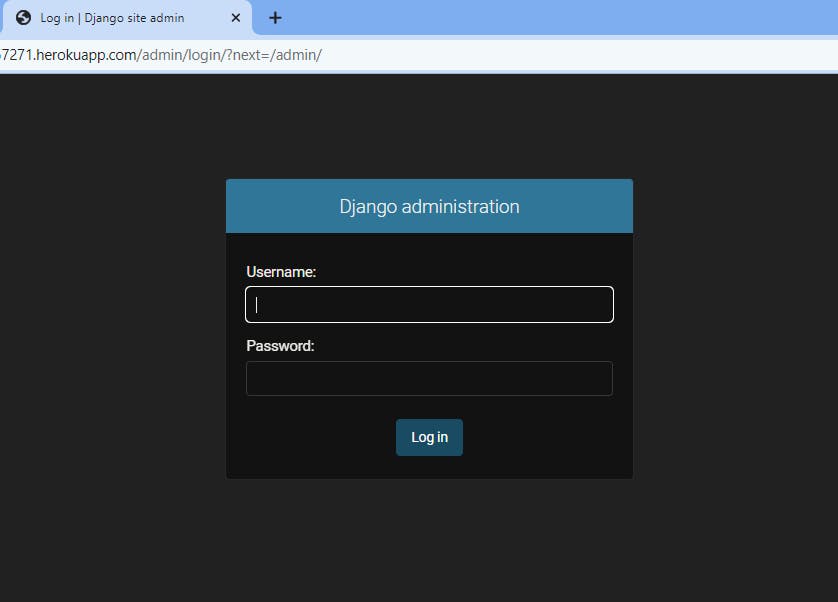
With this, you can add /admin behind your default URL to access Django admin with the login details you have just created.
Success output2:
STEP 9 - Customizing the URL of your Django App
I guess you want the URL of your project to have a similar name to what you have in your project. In my case, my default URL is stormy-hamlet-57271.herokuapp.com(check the image in step 7). To customize the URL, type the following into your terminal:
heroku apps:rename <customizedName>
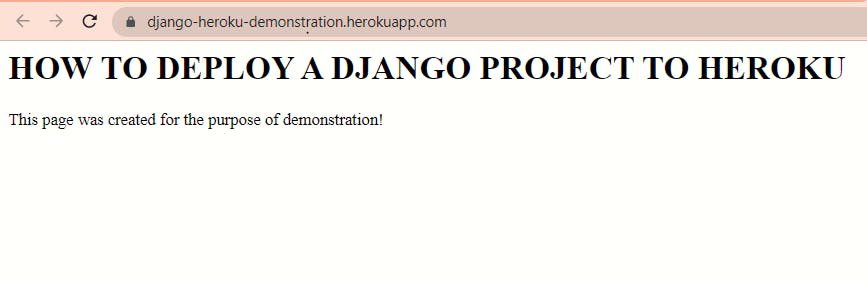
# I typed heroku apps:rename django-heroku-demonstration
**Success output: **

My new URL - django-heroku-demonstration.herokuapp.com
STEP 10 - Securing Your Live Project
You want to make sure the project you have put out, especially users' data are secure. Type the following codes at the end of your settings.py file:
if os.environ.get('DEBUG')=='TRUE':
    DEBUG = True
elif os.environ.get('DEBUG') =='False':
    DEBUG = False
Commit Your Changes
Whenever you make changes in your code, it is necessary to push it to Heroku so that it can reflect in your live project. To do this every time, type the following:
git add .
git commit - "commit message"
git push heroku master
Ta-da! You have successfully deployed your Django app to Heroku🎉
WHAT ELSE SHOULD I KNOW?
When you log into your Heroku dashboard, there are cool features to look into, including managing your live project and setting the environment variable. I don't know the use of everything there to be very honest, just sign in, and surf through.
You have learned from this article? Great! Don't forget to like and share with your network, bye.
Follow me on Twitter @graceyomowunmi, LinkedIn GraceOS..